Friday, March 27, 2015

Bombe Chest Makeover


This project was a learning lesson for me. Not so much in the refinishing department, but rather in identifying the style and history of these unique nightstands.

It wasn't until I stripped away layers of paint was I able to appreciate the lovely lines and details. At some point, someone had painted the details and top in red and gold-speckled paint, and not very well, either!


This style of furniture originated in France during the reign of Louis XIV. The classic bombe chest is known for its curved lines on the sides and a concave base. These nightstands were designed in a French Provincial style, which is known for its intricate details, pulls, and cabriole legs. Bombe chests are sometimes referred to Bombay chests as well.

My client decided on a two-toned gray and white finish. I used General Finishes Snow White and Seagull Gray to complete this transformation.


The insides of the drawers were originally spray-painted (!) red and were repainted for a fresh, clean look.


The original hardware was painted in a lovely silver paint (Rustoleum Metallic Finishes) and clear-coated with polyurethane spray for protection and durability.


Many, many hours of hand-painting was involved in this process! And every time I walked by them, I saw a spot that I needed to touch up! The final step was to seal these pieces in General Finishes Top Coat in Satin.


But the best part was seeing how happy my clients were when they arrived to pick up these tables!


I would love to find something similar for myself. The hunt is on! Have a great week and Happy Spring!


 photo signature_zps552cb1e1.png

I'm Sharing at:

Friday, March 20, 2015

A Custom Blue French Dresser


French Provincial pieces that are reasonably priced are really hard to come by here in Southern California. This little dresser was in bad shape - but I loved its lines and could see potential - and so I brought it home with me.

It had numerous water marks on the top and really bad nicks on the feet and at the bottom of the skirt.


I had to use an epoxy filler on the skirt where the veneer had chipped. And then I sanded the areas that were worn and nicked for a smooth, paintable surface. I didn't want to deal with any bleed-through issues, so I primed this piece with a shellac-based primer that I had my paint retailer tint gray.

I had just finished several "white" projects and really needed to paint something fun and colorful. Not only that, but General Finishes was hosting their annual design contest and one of the categories was the "Mad Scientist" contest where you come up with your own custom color mix using their milk paint. I got one of those "ah hah" moments in the middle of the night about which color combinations to try! (Am I the only one who loses sleep about painting projects?)

And so I started experimenting using Halycon Blue and Seagull Gray:


Using a ratio of 50:50, or equal parts of each, I was so excited about this gorgeous, soft blue that I created!


I spray painted the original pulls in Rustoleum Metallic Finishes spray paint, and sealed them with a clear polyurethane spray.


There were lovely little raised details on the sides of the dresser and on the skirt that were highlighted with Rub 'n Buff in Silver.


And with most of my pieces, I sealed the entire piece with General Finishes High Performance Top Coat in satin for a clean, professional finish.


I was so happy with the result of this dresser - can't you just see it in a little girl's room or nursery?


I'd love if you would swing by the General Finishes voting page and vote for my project! I have a number of entries in the "Best Use of Multiple Products" category but this is my pride and joy in the "Mix of Milk Paint Colors" category!


Voting ends on March 30th - so take a look around and admire all of the talented artists and their entries!

Have a great week and thanks for your support!


 photo signature_zps552cb1e1.png

I'm Sharing at:

Friday, March 13, 2015

A Fresh New Look for a Secretary Desk


I've refinished quite a few secretary desks in the past year. Each one has had its own challenges, and in the end, rewards. But this one really almost put me over the top!

It was your standard Queen Anne-style secretary desk that was mass-produced in the 40's and 50's. And although it may appear to be in good condition from this before photo, it doesn't depict the extent of the damage on the inside. There were numerous deep scratches on the writing part that went all the way down to the wood. I had to sand the heck out of it to get it smooth.


But this wasn't really the main problem with this desk. This is what happened after one coat of primer!

Bleed-through! The worst I've ever experienced!


My usual fix for this type of problem is to spray it with clear shellac. But even this wasn't working! So I did a little bit of research, and discovered that a shellac-based primer could help. I used Zinsser Shellac Base Primer. This was already tinted white.


It did the trick after two coats, and the bleed was controlled enough that I was finally able to paint!

I wanted something fresh, clean and fun looking so I painted the body in General Finishes Snow White. And I wanted a little pop of color, so I painted the back of the upper cabinet in General Finishes Persian Blue. I removed the fretwork on a whim, and decided I liked the look for this piece without it.


I also painted the framework for the insert part on the lower portion and kept the drawers white. A teeny-tiny brush helped with those hard-to-reach areas!


The original handles were sprayed in Rustoleum Oil Rubbed Bronze.


With the secretary complete (two weeks later!), I felt the desk needed a "friend". I had a chair in my stash that I decided to pair with it. I painted it as well in GF Snow White and recovered the cushion in Waverly home decor fabric in "Buttom Blooms".


Don't they look beautiful together? I took this picture after two days of rain (sadly that's all we got here in drought-stricken Southern California) and loved how the light was streaming in through the window.


I've entered this project in the General Finishes Annual Design Contest. I would love it if you would stop on by and give it a little bit of love (vote)! I have a number of entries, so just look for Mary Beth's Place and take a look at my other projects!


Thanks so much for stopping by and have a wonderful day!


 photo signature_zps552cb1e1.png

I'm Sharing At:


Friday, March 6, 2015

The Impossible Upholstery Project


or When to Call a Professional!


I picked up this chair at an estate sale thinking my Mom would like it. I think at one time it must have been red or pink velvet - but had seen better days. The cushion on the seat was completely flat - as though the air had been let out of it!


Turns out it wasn't the right size and scale for what my Mom needed. So I kept it for myself!

When I finally pulled the 4,323,001th staple out of the bottom portion, I discovered what happened to the nonexistent padding. It was originally foam - that had disentregated! Dust and debris went everywhere- all over my lap, hands, hair, eyes - and I had to quickly grab my mask when I vacuumed up the mess. Definitely not one of my better days.

There was absolutely no structure or support to the seat part. The original canvas straps and burlap backing was shot and had disentegrated along with the foam. After I primed it, I called in my Dad  for a "Fix It Monday" visit.


This is what my smart and handy Dad came up with. We made a circular template out of paper and adjusted the measurements to accomodate the cut outs for the back supports.


Using a jigsaw, my Dad cut out a perfect new seat out of scrap wood. You can see how he cut out the little portion on the back to make a really nice snug fit. And then he nailed it down. And reminded me again to not buy any more, and I quote: "junky furniture"! Ha Ha -  like that's going to happen!


I painted the chair in Antique White by General Finishes Milk Paint and sealed it with clear wax.

I wish I could tell you that the rest of this project went smoothly and easily. But I really think for my first upholstery project, that this was a little out of my league. And my friend, Robin at RPK Interiors, would have to post a fantastic tutorial about refinishing a chair (see Learning to Upholsterafter I gave up on this project in tears and despair. Look at how gorgeous Robin's makeover of her chair is!

Photo Courtesy of RPK Interiors


But I digress. Here is where I stopped and where the project sat unfinished for months.


I wasn't happy with how it was turning out because the upper portion turned out really lumpy (I used polyfill - but maybe not enough?). And don't even get me started about how to cut around the back supports without screwing up the fabric. Enter my new best friend, Rosario.

I took the chair, leftover fabric, gimp braiding, and my pride to Rosario, the professional upholsterer. He was so sweet when I picked it up. I knew he took everything apart and started anew but didn't want to hurt my feelings. He probably also thinks I'm a little crazy when I asked him if I could sit and watch him work one day!

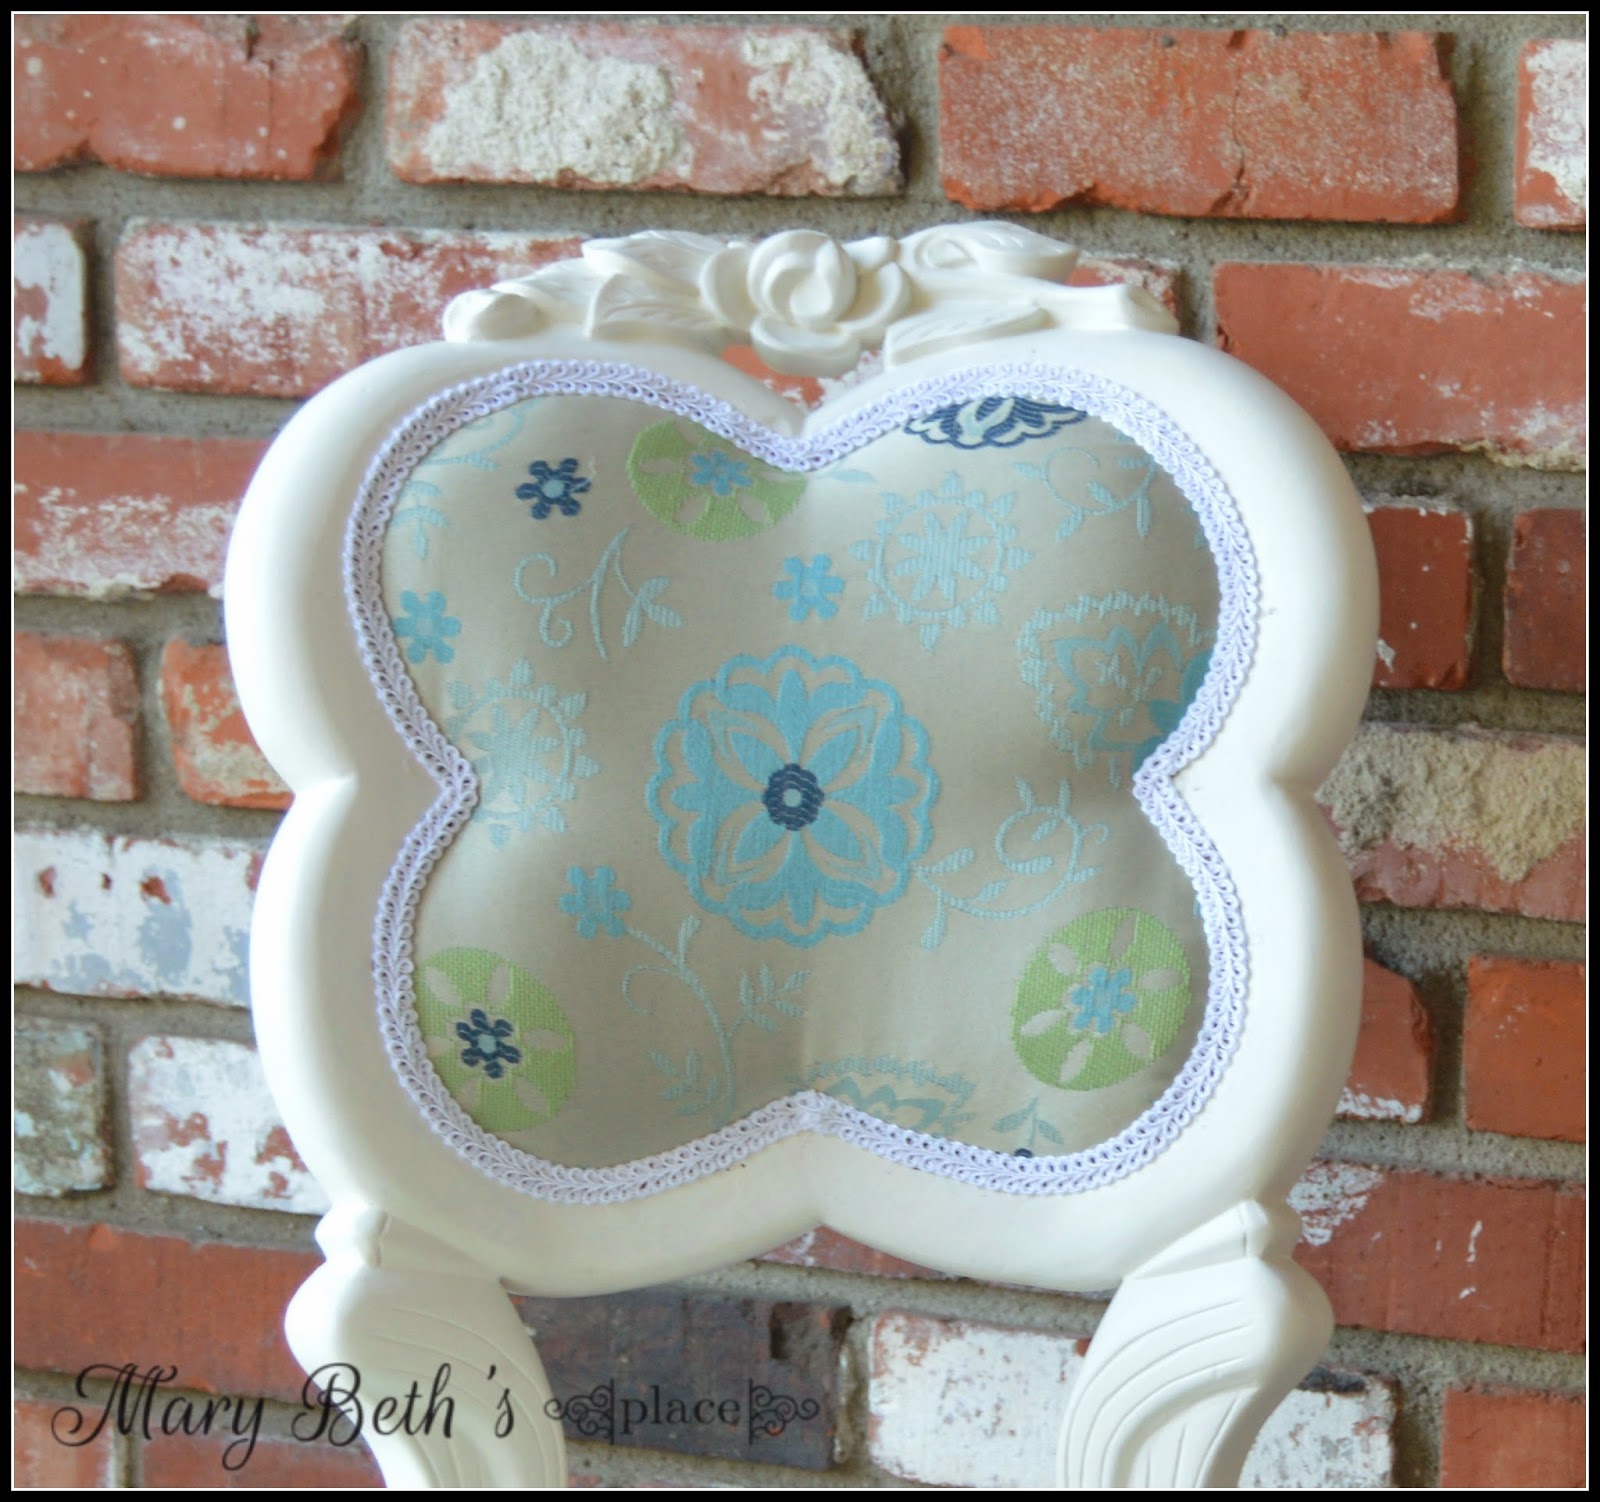
But here it is in all it's glory!


And a little surprise on the back! I think I had great vision - just poor execution!


And the obligatory "before" and "after" shot:


But I am.not.giving.up on upholstery projects! I think my next candidate shouldn't be so complicated. What about you? Have you ever given up on a project and just said, "The heck with it" and taken it to a professional?

Have a great day! And, on a side note, I've made a few little tweaks to the blog and added a follow by email link. Would love it if you subscribed!

 photo signature_zps552cb1e1.png

I'm Sharing at: