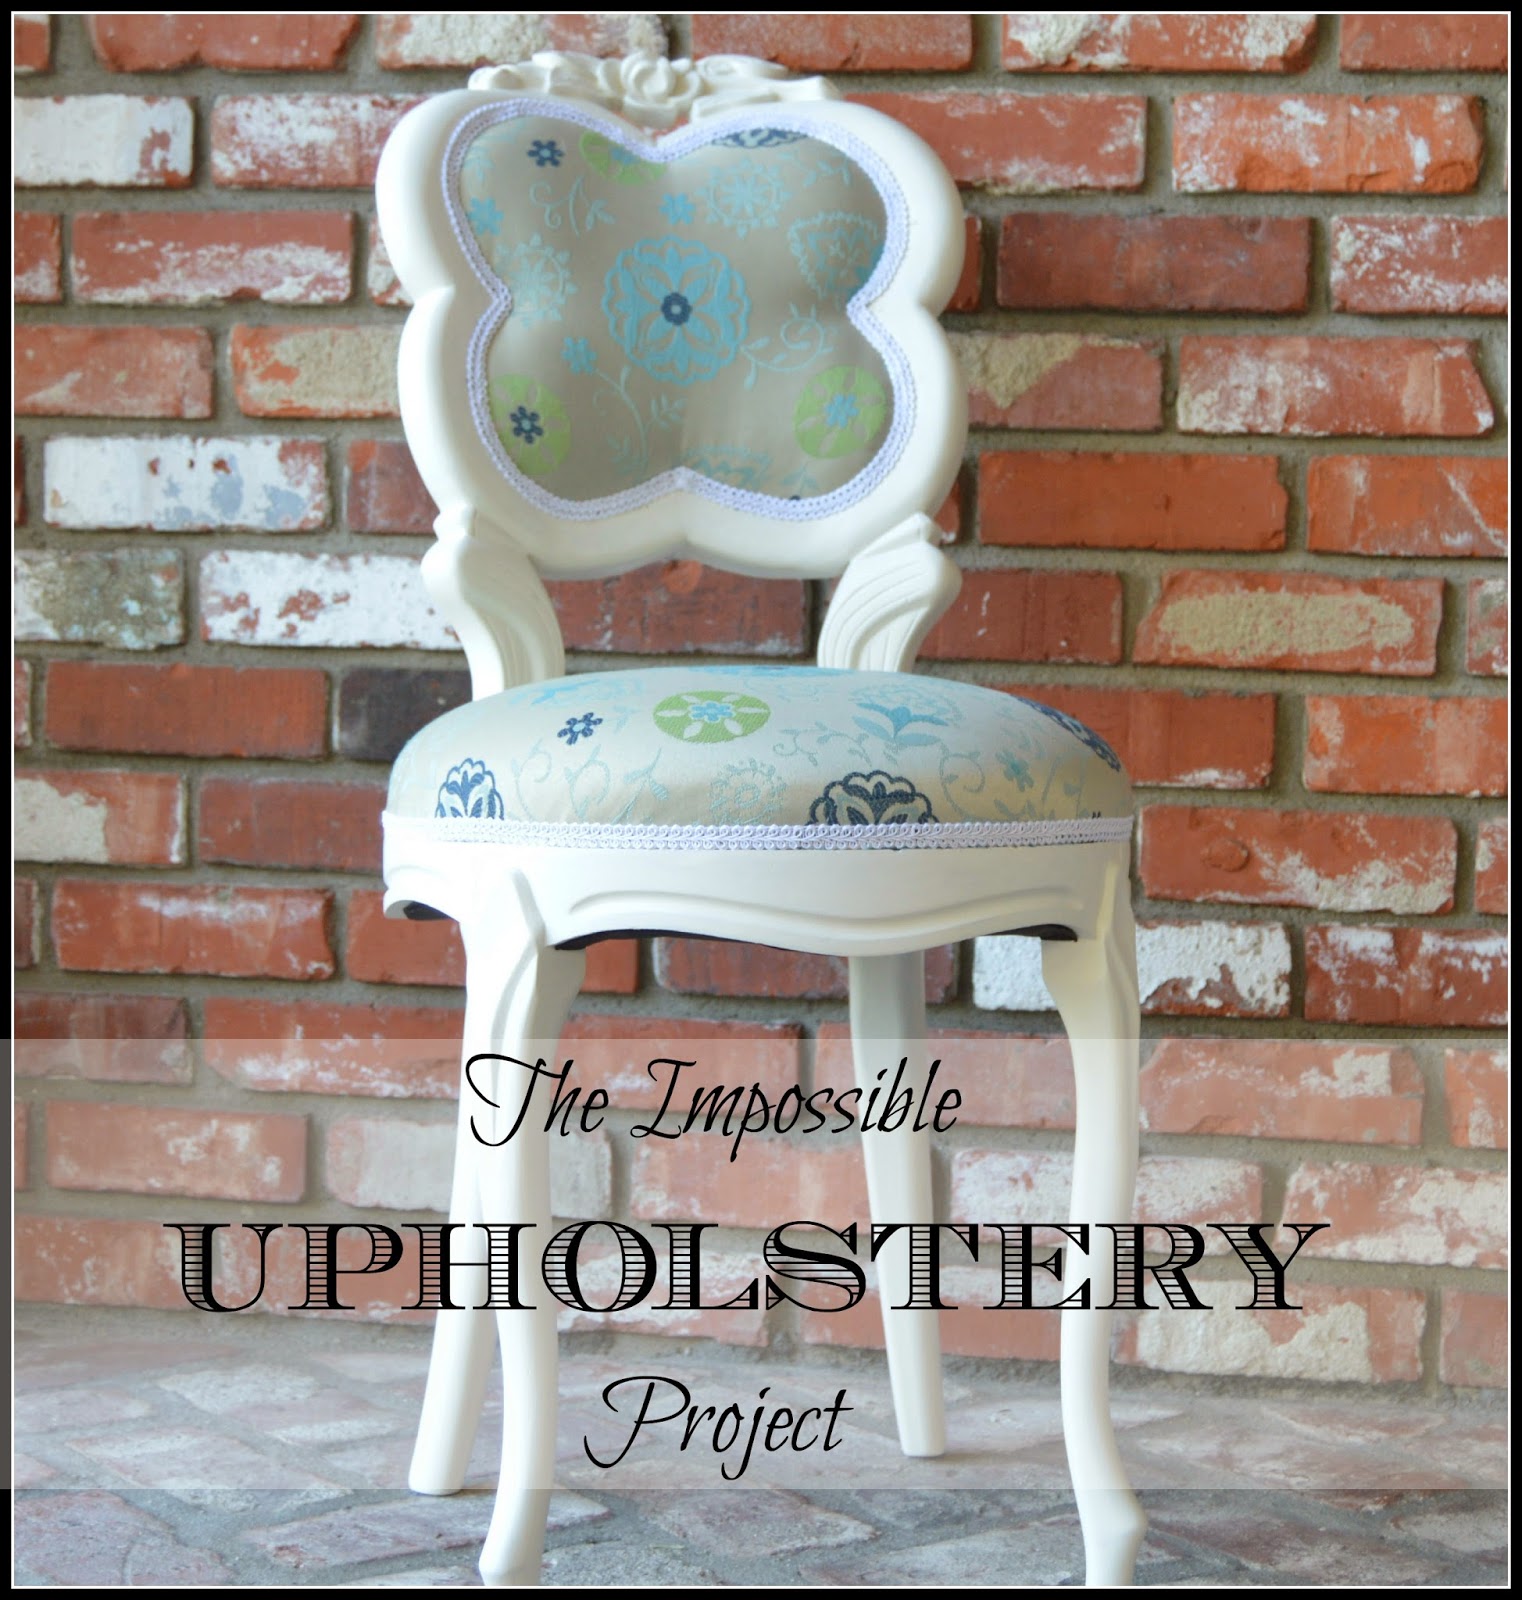
I picked up this chair at an estate sale thinking my Mom would like it. I think at one time it must have been red or pink velvet - but had seen better days. The cushion on the seat was completely flat - as though the air had been let out of it!
Turns out it wasn't the right size and scale for what my Mom needed. So I kept it for myself!
When I finally pulled the 4,323,001th staple out of the bottom portion, I discovered what happened to the nonexistent padding. It was originally foam - that had disentregated! Dust and debris went everywhere- all over my lap, hands, hair, eyes - and I had to quickly grab my mask when I vacuumed up the mess. Definitely not one of my better days.
There was absolutely no structure or support to the seat part. The original canvas straps and burlap backing was shot and had disentegrated along with the foam. After I primed it, I called in my Dad for a "Fix It Monday" visit.
This is what my smart and handy Dad came up with. We made a circular template out of paper and adjusted the measurements to accomodate the cut outs for the back supports.
Using a jigsaw, my Dad cut out a perfect new seat out of scrap wood. You can see how he cut out the little portion on the back to make a really nice snug fit. And then he nailed it down. And reminded me again to not buy any more, and I quote: "junky furniture"! Ha Ha - like that's going to happen!
I painted the chair in Antique White by General Finishes Milk Paint and sealed it with clear wax.
I wish I could tell you that the rest of this project went smoothly and easily. But I really think for my first upholstery project, that this was a little out of my league. And my friend, Robin at RPK Interiors, would have to post a fantastic tutorial about refinishing a chair (see Learning to Upholster) after I gave up on this project in tears and despair. Look at how gorgeous Robin's makeover of her chair is!
 |
| Photo Courtesy of RPK Interiors |
But I digress. Here is where I stopped and where the project sat unfinished for months.
I wasn't happy with how it was turning out because the upper portion turned out really lumpy (I used polyfill - but maybe not enough?). And don't even get me started about how to cut around the back supports without screwing up the fabric. Enter my new best friend, Rosario.
I took the chair, leftover fabric, gimp braiding, and my pride to Rosario, the professional upholsterer. He was so sweet when I picked it up. I knew he took everything apart and started anew but didn't want to hurt my feelings. He probably also thinks I'm a little crazy when I asked him if I could sit and watch him work one day!
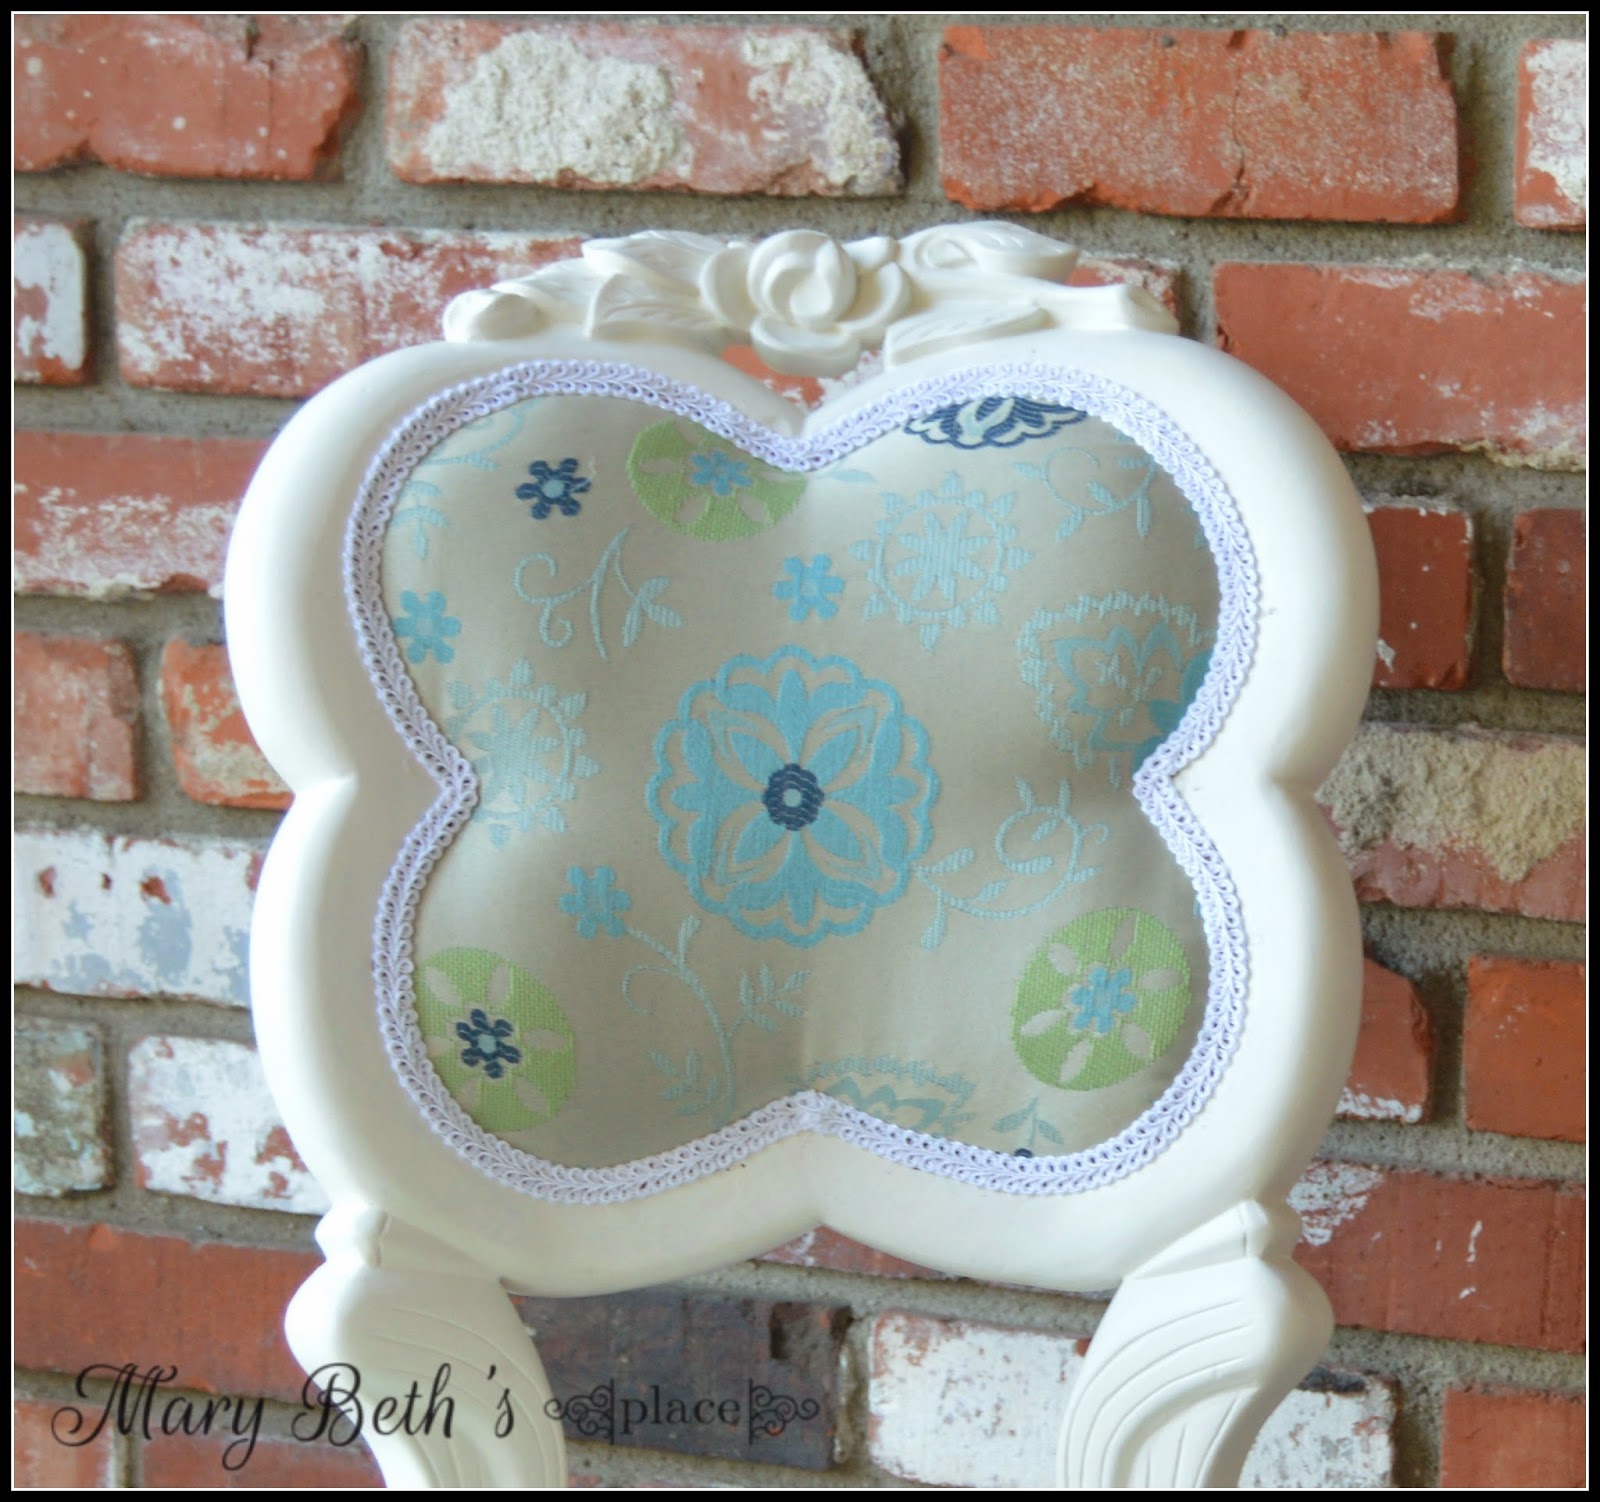
But here it is in all it's glory!
And a little surprise on the back! I think I had great vision - just poor execution!
And the obligatory "before" and "after" shot:
But I am.not.giving.up on upholstery projects! I think my next candidate shouldn't be so complicated. What about you? Have you ever given up on a project and just said, "The heck with it" and taken it to a professional?
Have a great day! And, on a side note, I've made a few little tweaks to the blog and added a follow by email link. Would love it if you subscribed!

I'm Sharing at:


Adorable! And, you have a smart and handy daddy.
ReplyDeleteThank you - I agree! He's been a huge help in teaching me how to repair furniture!
DeleteThat is such a great makeover!
ReplyDeleteThank you, Gilly! It was a little frustrating - but I love how it turned out!
DeleteNow that is quite a transformation I have to say, and what a darling result, it really is such a cute chair.
ReplyDeleteKnow you must be lovin it!!
Blessings, Nellie
We are! But it is the "no touch", "no sit" chair! Thanks for compliment!
DeleteThat transformation is amazing! What a beautiful, sweet chair! I would love to have that in my home :)
ReplyDeleteI would love for you to stop by my blog and join our link party Something to Talk About!
Have a great day!
Karen
You absolutely did a wonderful job choosing your paint color and fabrics! I'm totally with you on upholstery. The one project I did years ago was a bear! The fabric is out of style again and I need to redo it but will not! I'm thinking a sort of slip-cover will work. Hmm...maybe I should head over to the tutorial you linked. I might get my nerve again. Your chair is beautiful!
ReplyDeleteBlessings~
Kim @ Curtain Queen Creates
I think you should try again! I'm not going to give up and now I'm on the hunt to find an easier candidate for my next project. Definitely check out Robin @ RPKInterior's tutorial - she is amazingly talented!
DeleteVisiting you from Amaze Me Monday...what a gorgeous little chair and you a did a fantastic job on it! What a transformation!
ReplyDeleteThank you so much, Debby! And thanks for stopping by from Amaze Me Monday!
DeleteWhile this may have been your first upholstery project, it sure doesn't look that way! You did fabulous!!! I love the fabrics you picked, and you gave this little chair some flair;) You should absolutely be proud!
ReplyDeleteBeth, you are so sweet for giving me a shout out! Your chair turned out beautifully! I love the fabric choice and the contrasting fabric on the back is such a fun surprise! And from some of the comments above, it looks as though you may have inspired some folks to persevere! Pretty cool...this blog sharing stuff! :)
ReplyDeletexoxo
Robin
No.. thank you for the inspiration! I'm looking for my next candidate!
DeleteBeth -- I am about to embark on my own adventure reupholstering chairs, so I appreciate your post. You did a great job. I can only hope my chairs look as good as this one. I saw your link among the many creative submission at this week's Amaze Me Monday party. Ann Marie @ Iris Abbey www.irisabbey.com
ReplyDeleteWhat a lovely transformation!! Great job!!
ReplyDeleteBeth I love this chair and the makeover you gave it It was one of my favorites from the DIY Sunday Showcase Party and I've pinned it to our DIY Sunday Showcase Talent Board on Pinterest.
ReplyDeleteMarie@The Interior Frugalista
Tickled pink! Thank you so much, Marie!
DeleteOh I jealous! I tried doing this and it was an epic fail. LOL! Yours is great! Thank you for sharing on Found & Foraged.
ReplyDeleteLove your transformation! I wouldn't have been able to get the upholstery right either! Visiting from DIY Sunday Showcase:)
ReplyDeleteThis is the cutest thing! I have a total chair fetish, and every time I see something unique like this, I just study it forever. That is so weird how everything inside it had just disintegrated. Will this actually be used, or is it just ornamental?
ReplyDeleteThat is really a darling chair!
ReplyDelete